
Hello! And welcome to our home! Please allow me to show you around.
We've been busy making over our entire home from top to bottom over the past 3 years. We've replaced every square foot of flooring, repainted every square inch of walls, ceilings, trim, etc., replaced 3 windows, 3 exterior doors, gutted and redone 2 bathrooms and the kitchen as well as replaced nearly every appliance and utility such as water softener, water heater, etc. It's been an incredible process not to mention I made a career change, got pregnant and had a baby (at home!) and watched him turn into a toddler also in this time frame.
We never could have completed all this work without our amazing friends and family members that have helped us along the way.
And, oh yeah, we spent roughly 5 times what we originally budgeted (first time DIYers...). But we are so glad we did it. We have learned SO MUCH! These are life lessons that will be with us forever.
I will start with a little floorplan. I created this using floorplanner.com (which is FREE!). There are SO MANY things that I could add (including furniture, patio, front porch, bay window, etc. with that site, but this will give you a quick idea what you're looking at.

Here's the front of our home now:

And here's what it used to look like....before we scrubbed and stained the deck, replaced the front door and painted it red, spray painted the shutters, poured a new sidewalk, put on a new roof, patched holes in the siding, replaced the gutters, wrapped the fascia boards with aluminum, swapped out the overgrown shrubs with some more appealing landscaping, and took away our hillbilly attached garage (a carport that was butted up against the house on the right side...if you look closely you can catch a glimpse of it). Whew! I'm tired just recounting all that work and we haven't even gone inside.

This is the room you walk into from the front door (seen in the left of the photo). We have a small sitting area just inside the door, a bar counter that overlooks the kitchen and our table & chairs. We are currently using our front room as our dining space but we have also used it as a living area in the past.

And this is what this room used to look like:


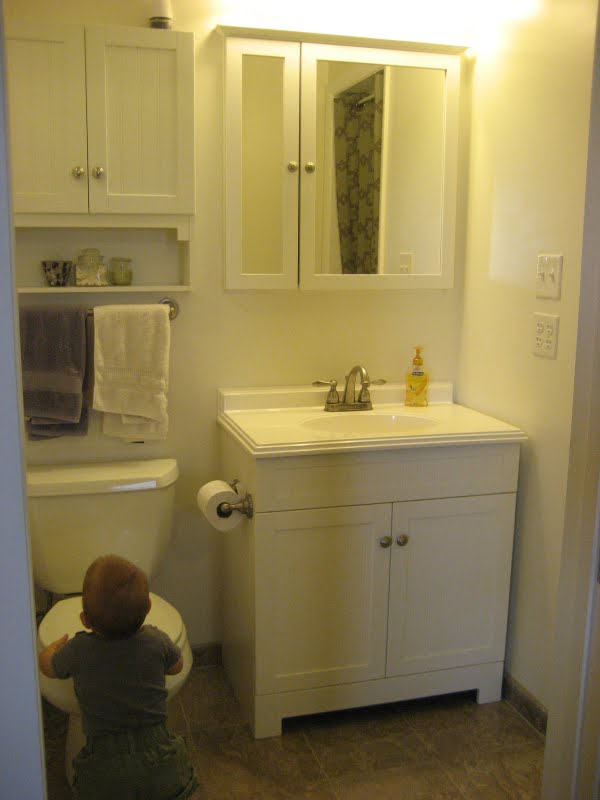
The hallway (which is what you see right in front of you when you walk in the front door) leads to the hall bath.


Here are a couple before photos of that bath:


Let's stop off at the hall closet. Here you will find the new water heater and the new high efficiency propane furnace:

I decided to use the back of the door for cleaning supply storage. I found this rack with shelves and hooks on Amazon.

Here's the old fuel oil furnace that we eeked by with for about 7 years. It's a wonder it didn't set the house on fire. Seriously.
That's what two technicians said.


Next on the tour is the guest bedroom. We found that lovely sleeper love seat on Craigslist for just $60. And the pillows were steals from Garden Ridge.

We use the closet in this bedroom for storing home improvement supplies (you know, drills, paint, sanding supplies, etc.) The usual DIY-er arsenal...

This room also used to be our home office and it would get a little out of control. Having all that space dedicated to our home office, I lacked motivation to clean it up. So, we decided to relocate our office to a computer armoire in the Great Room to help contain the mess. See this post for more on that.
The previous owners' paint job was hideous. I think they just primed the walls and then sponge painted dark blue "sky" on the ceiling and about 12" down the walls all around the room. Then they sponge painted on white and yellow moons and stars. Not cute...


Next on the tour is our son, Levi's nursery. Since we did not know the sex of the baby till he was born, we chose a neutral green, white and brown color scheme for his room.

Read about how I scored this dresser from Craigslist and made it over here.

We also keep Levi's toys and extra clothes in the closet.
For more on that and other storage solutions, click here.

Unfortunately, I don't have any true "Before" photos of this room (since it used to be our guest room and generally was a disaster). The photos below were taken after we removed an ornate cherry chair rail (that matched nothing else in our home) and after we'd begun patching the walls. I like to describe it as a Victoria's Secret box (due to the pink stripes). And the dark green carpet made it look even more hideous.


Next stop on the tour is the Master Bedroom:


Here are Master Bedroom before photos:


The Master Bedroom has an adjoining bathroom and walk in closet:


And here it was before:
This is our old 30" square shower...where if you dropped a bar of soap, you had to get out to pick it up...and it's actually clean in this pic. When we tore it out, it was a nice orange color from the rust in our old water heater.

And the hideous sink/toilet layout.

(in case you're wondering, no one is smoking in this pic,
it was just pretty dusty from all the demolition...)
Now we will take a look at the kitchen. Custom cherry cabinets, granite tile counters with undermount sink, travertine floor and backsplash, stainless steel appliances...it's got all the bells and whistles.


And here it is before:


For more info on the Kitchen Remodel check out my posts on that in the month of August, when I featured the Kitchen.
And here's the Laundry Room:

We relocated the pressure tank to the crawl space and enclosed the water softener in a closet to really clean this space up. And we reused part of the before cabinets by adding new hardware and crown mold trim to update them.
Off the laundry room is a small closet that contains our water softener and iron and ironing board. There's just enough room for a few coats, a trash can, and storage for my purse, the diaper bag, gym bag, lunch bag, etc.

And here's an "in progress" shot of the laundry room. David & his Dad were tearing out the floor and assessing the water damage from our water softener and pressure tank plumbing that had been leaking. There were extensive repairs made to this area.

And finally, the Great Room....ah...so peaceful.


Note the computer armoire shown in the picture below. That contains our home office now. So neat and clean looking, huh?

And here are the before photos. We still have pretty much the same furniture (I'd LOVE to get rid of the plaid couch but will have to save up for that) but we've decluttered a TON!! We repainted the room, including the trim and mantle, installed new lighting and flooring and took our workout equipment out of there!


Now, moving out to the backyard:
We tore off our old rotten deck and poured a new huge patio. Then we found this round picnic table with 4 benches on Craigslist for $55 and I re-painted it a fun red color.

And here's an in progress photo of our storage shed. We basically rebuilt the entire structure. And re-roofed it. It is much more sturdy nowadays. It was built right on the ground and moisture was overtaking it. So we jacked it up using a floor jack and concrete blocks and put treated 4 x 4 s underneath it. Then we built ramps so we can easily get our riding lawn mower in and out. And oh yeah, then we repainted it to match our house.

Well, that's all folks. Thanks for stopping by. I hope that you enjoyed your little tour. If you have any questions about anything you see here, leave a comment and let me know. Our home is an ever-evolving project so be sure to check back later for updates!
I'm linking this up to Home Stories A2Z and Serenity Now this week.


